之前我们做的早安推送是基于测试订阅号,它的弊端是不会在消息列表显示消息提示,而且订阅号标题无法修改。2.0版本基于企业微信进行推送,完美地解决了这两个问题。同时我们的教程,也会更加详细。
先看效果
注册企业微信并创建应用
打开 企业微信官网 ,按照流程注册一个自己的企业微信
注册成功后登录,在应用管理中创建应用,按照要求填写应用信息
创建成功之后在应用详情拿到AgentId和Secret
之后在我的企业-企业信息,去拿到企业微信的企业id。
提示
不要忘记在应用管理的白名单管理中,添加你的服务器ip哦!
修改代码 /src/config/config.js 中的 cropId 和 cropSecret
module.exports = {
  ...
  corpId: "你的企业微信id",
  corpSecret: "你创建的应用的secret"
}
申请API
百度天气API
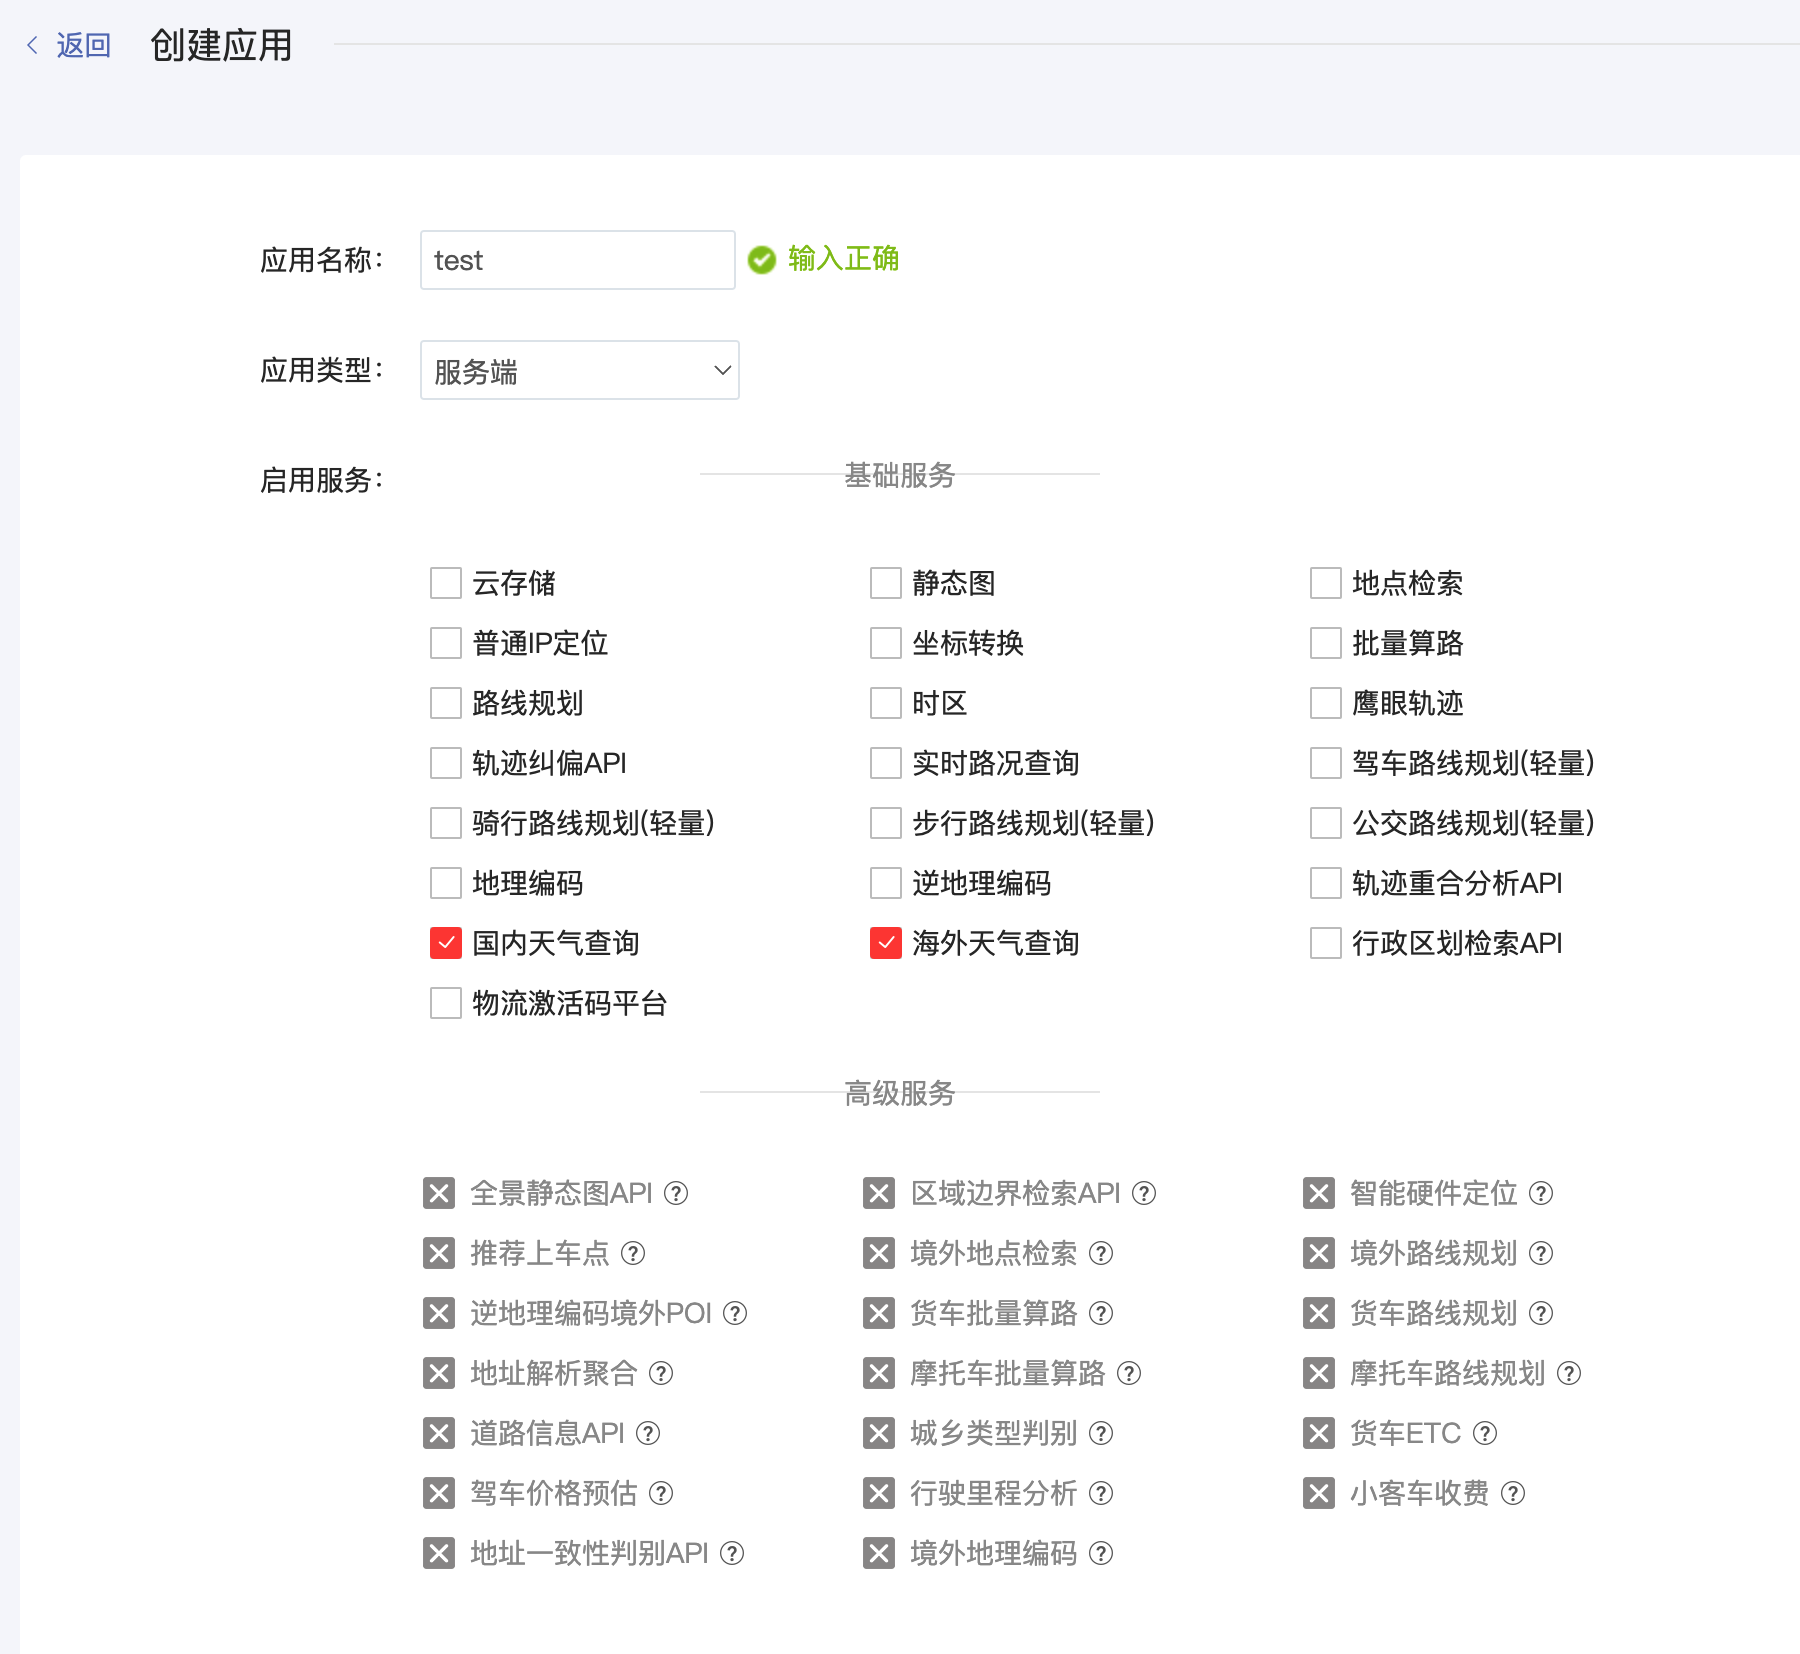
登录百度地图控制台,创建一个可以调用天气的应用并且拿到应用AK
拿到应用AK之后,添加到 src/config/config.js
同时设置好阳历、农历生日(默认使用农历)、纪念日、所在城市的行政区划编码(注意不是邮政编码)、所在城市经纬度
/**
 * 默认配置
 * @author
 */
module.exports = {
  // 企业微信id
  corpId: '',
  // 应用secret
  corpSecret: '',
  // 百度天气AK
  weatherAk: '',
  // 彩虹屁KEY
  tipsKey: '',
  // 是否使用农历生日
  isSloar: true,
  // 阳历生日
  birthday: '2023-12-01',
  // 农历生日
  birthdaySolar: '2023-10-19',
  // 纪念日
  anniversary: '2021-03-16',
  // 和风天气key
  qWeatherKey: '',
  // 需要查询的城市经纬度
  lat: '30.28745',
  lon: '120.15358',
  // 企业微信应用agentid
  agentid: 1000002,
  // 需要查询的城市的行政区划编码
  district_id: '330100',
};
天行数据API
打开天行数据官网,注册账号并且登录,你会看到许多可供选择的api
选择点击你想要的功能,选择申请接口,申请成功后便可以调用api得到对应功能,点击在线测试拿到api地址,以及自己的密钥
在代码中调用接口(以彩虹屁为例)src/service/authService.js
/**
 * 早安心语
 * @returns {Promise<string|DocumentFragment>}
 */
async function getTips() {
  const { data } = await axiosGet("http://api.tianapi.com/caihongpi/index", {
    key: config.tipsKey,
  });
  return data.newslist[0].content;
}
和风天气API
打开和风天气官网,注册后登录到控制台,创建一个自己的应用,拿到Private KEY
之后打开开发文档,找到天气指数预报,根据文档拿到api地址
具体实现代码如下
/**
 * 获取天气生活指数
 * @returns {Promise<{UV: *, cold: *}>}
 */
async function getSuggest() {
  const url = `https://devapi.qweather.com/v7/indices/1d?location=${config.lon},${config.lat}&key=${config.qWeatherKey}&type=5,9`;
  const { data } = await axiosGet(url, {});
  const dailies = data.daily;
  return {
    UV: dailies[0].text,
    cold: dailies[1].text,
  };
}
实现过程
获取到企业微信的accessToken
/**
 * 获取企业微信token
 * @returns {Promise<*>}
 */
async function getCompanyToken() {
  const corpId = config.corpId;
  const corpSecret = config.corpSecret;
  const result = await axiosGet(`https://qyapi.weixin.qq.com/cgi-bin/gettoken?corpid=${corpId}&corpsecret=${corpSecret}`);
  return result.data.access_token;
}获取模板展示信息
/**
 * 获取模板展示信息
 */
async function getInfo() {
  const weatherAk = config.weatherAk;
  const { data } = await axiosGet(`https://api.map.baidu.com/weather/v1/`, {
    district_id: config.district_id,
    data_type: 'all',
    ak: weatherAk,
  });
  // 获取今天的信息
  const today = data.result.forecasts[0];
  const feel = data.result.now.feels_like;
  const wind = data.result.now.wind_dir + ' ' + data.result.now.wind_class;
  const todayStr = `${today.date} ${today.week}`;
  // 今日天气
  const weatherStr = await formatStrToEmoji(today.text_day);
  const weatherHigh = today.high;
  const weatherLow = today.low;
  // 在一起多少天
  const linaAi = getDateByDays();
  // 距生日还剩多少天
  const birthday = getDistanceSpecifiedTime(config.isSloar ? config.birthdaySolar : config.birthday, config.isSloar);
  // 天气建议
  const exponent = await getSuggest();
  return {
    todayStr,
    weatherStr,
    weatherHigh,
    weatherLow,
    feel,
    wind,
    linaAi,
    birthday,
    UV: exponent.UV,
    cold: exponent.cold,
  };
}
推送早安提醒
/**
 * 早安提醒
 * @returns {Promise<void>}
 */
async function companyPublishGreet() {
  const token = await getCompanyToken();
  const data = await getInfo();
  const params = {
    touser: '@all',
    msgtype: 'news',
    agentid: config.agentid,
    news: {
      articles: [
        {
          picurl: 'https://ethanwp.oss-cn-shenzhen.aliyuncs.com/download/IMG_0519.JPG',
          title: '早上好,宝宝~',
          description:
            '今天是:🎉 ' +
            data.todayStr +
            ' 🎉\n今日天气:' +
            data.weatherStr +
            '\n今日气温:' +
            data.weatherLow +
            '℃~' +
            data.weatherHigh +
            '℃\n体感温度:' +
            data.feel +
            '℃\n\n🥰今天是我们在一起的第' +
            data.linaAi +
            '天\n🎂距离宝宝生日还有' +
            data.birthday +
            '天\n\n🤧今日感冒指数:' +
            data.cold +
            '\n\n🔔小胖温馨提示:今日紫外线' +
            data.UV,
        },
      ],
    },
    enable_id_trans: 0,
    enable_duplicate_check: 0,
    duplicate_check_interval: 1800,
  };
  await axiosPost(`https://qyapi.weixin.qq.com/cgi-bin/message/send?access_token=${token}`, params);
}
推送喝水提醒
/**
 * 喝水提醒
 * @returns {Promise<void>}
 */
async function companyPublishWater() {
  const token = await getCompanyToken();
  const params = {
    touser: '@all',
    msgtype: 'news',
    agentid: config.agentid,
    news: {
      articles: [
        {
          title: '提醒喝水小助手',
          description: '👉 小胖牌提醒喝水小助手来啦!宝宝要主动喝水,而不是等到口渴了才去喝很多水,要做每天喝8杯水的乖宝宝哦~',
          url: 'URL',
          picurl: 'https://ethanwp.oss-cn-shenzhen.aliyuncs.com/download/water.webp',
        },
      ],
    },
    enable_id_trans: 0,
    enable_duplicate_check: 0,
    duplicate_check_interval: 1800,
  };
  await axiosPost(`https://qyapi.weixin.qq.com/cgi-bin/message/send?access_token=${token}`, params);
}
测试推送,浏览器访问 http://你的域名或服务器ip地址:7345/api/test
/**
 * 测试推送接口
 * @returns {Promise<void>}
 */
async function test() {
  await companyPublishGreet();
  return 'success';
}使用node-schedule实现定时推送
// src/main.js
// 早安推送
schedule.scheduleJob("0 0 8 * * *", async () => {
  await companyPublishGreet();
});

// 喝水提醒
schedule.scheduleJob("0 30 9 * * *", async () => {
  await companyPublishWater();
});
部署到服务器
服务器需要有NodeJS环境(建议使用宝塔面板安装),并且需要安装pm2;如果你有编程方面相关的经验,建议将修改后的代码放到git服务器托管(例如:github,gitee等),这样你修改了代码再进行部署将十分方便,同时也必须要在服务器安装git。
- 将所有代码放到服务器:将代码放到你的服务器上,并且需要放行对应端口号
-
安装pm2:
npm install pm2 -g
-
运行服务:进入到代码根目录并且运行,
pm2 start ./src/main.js -n wechat-push
获取源码

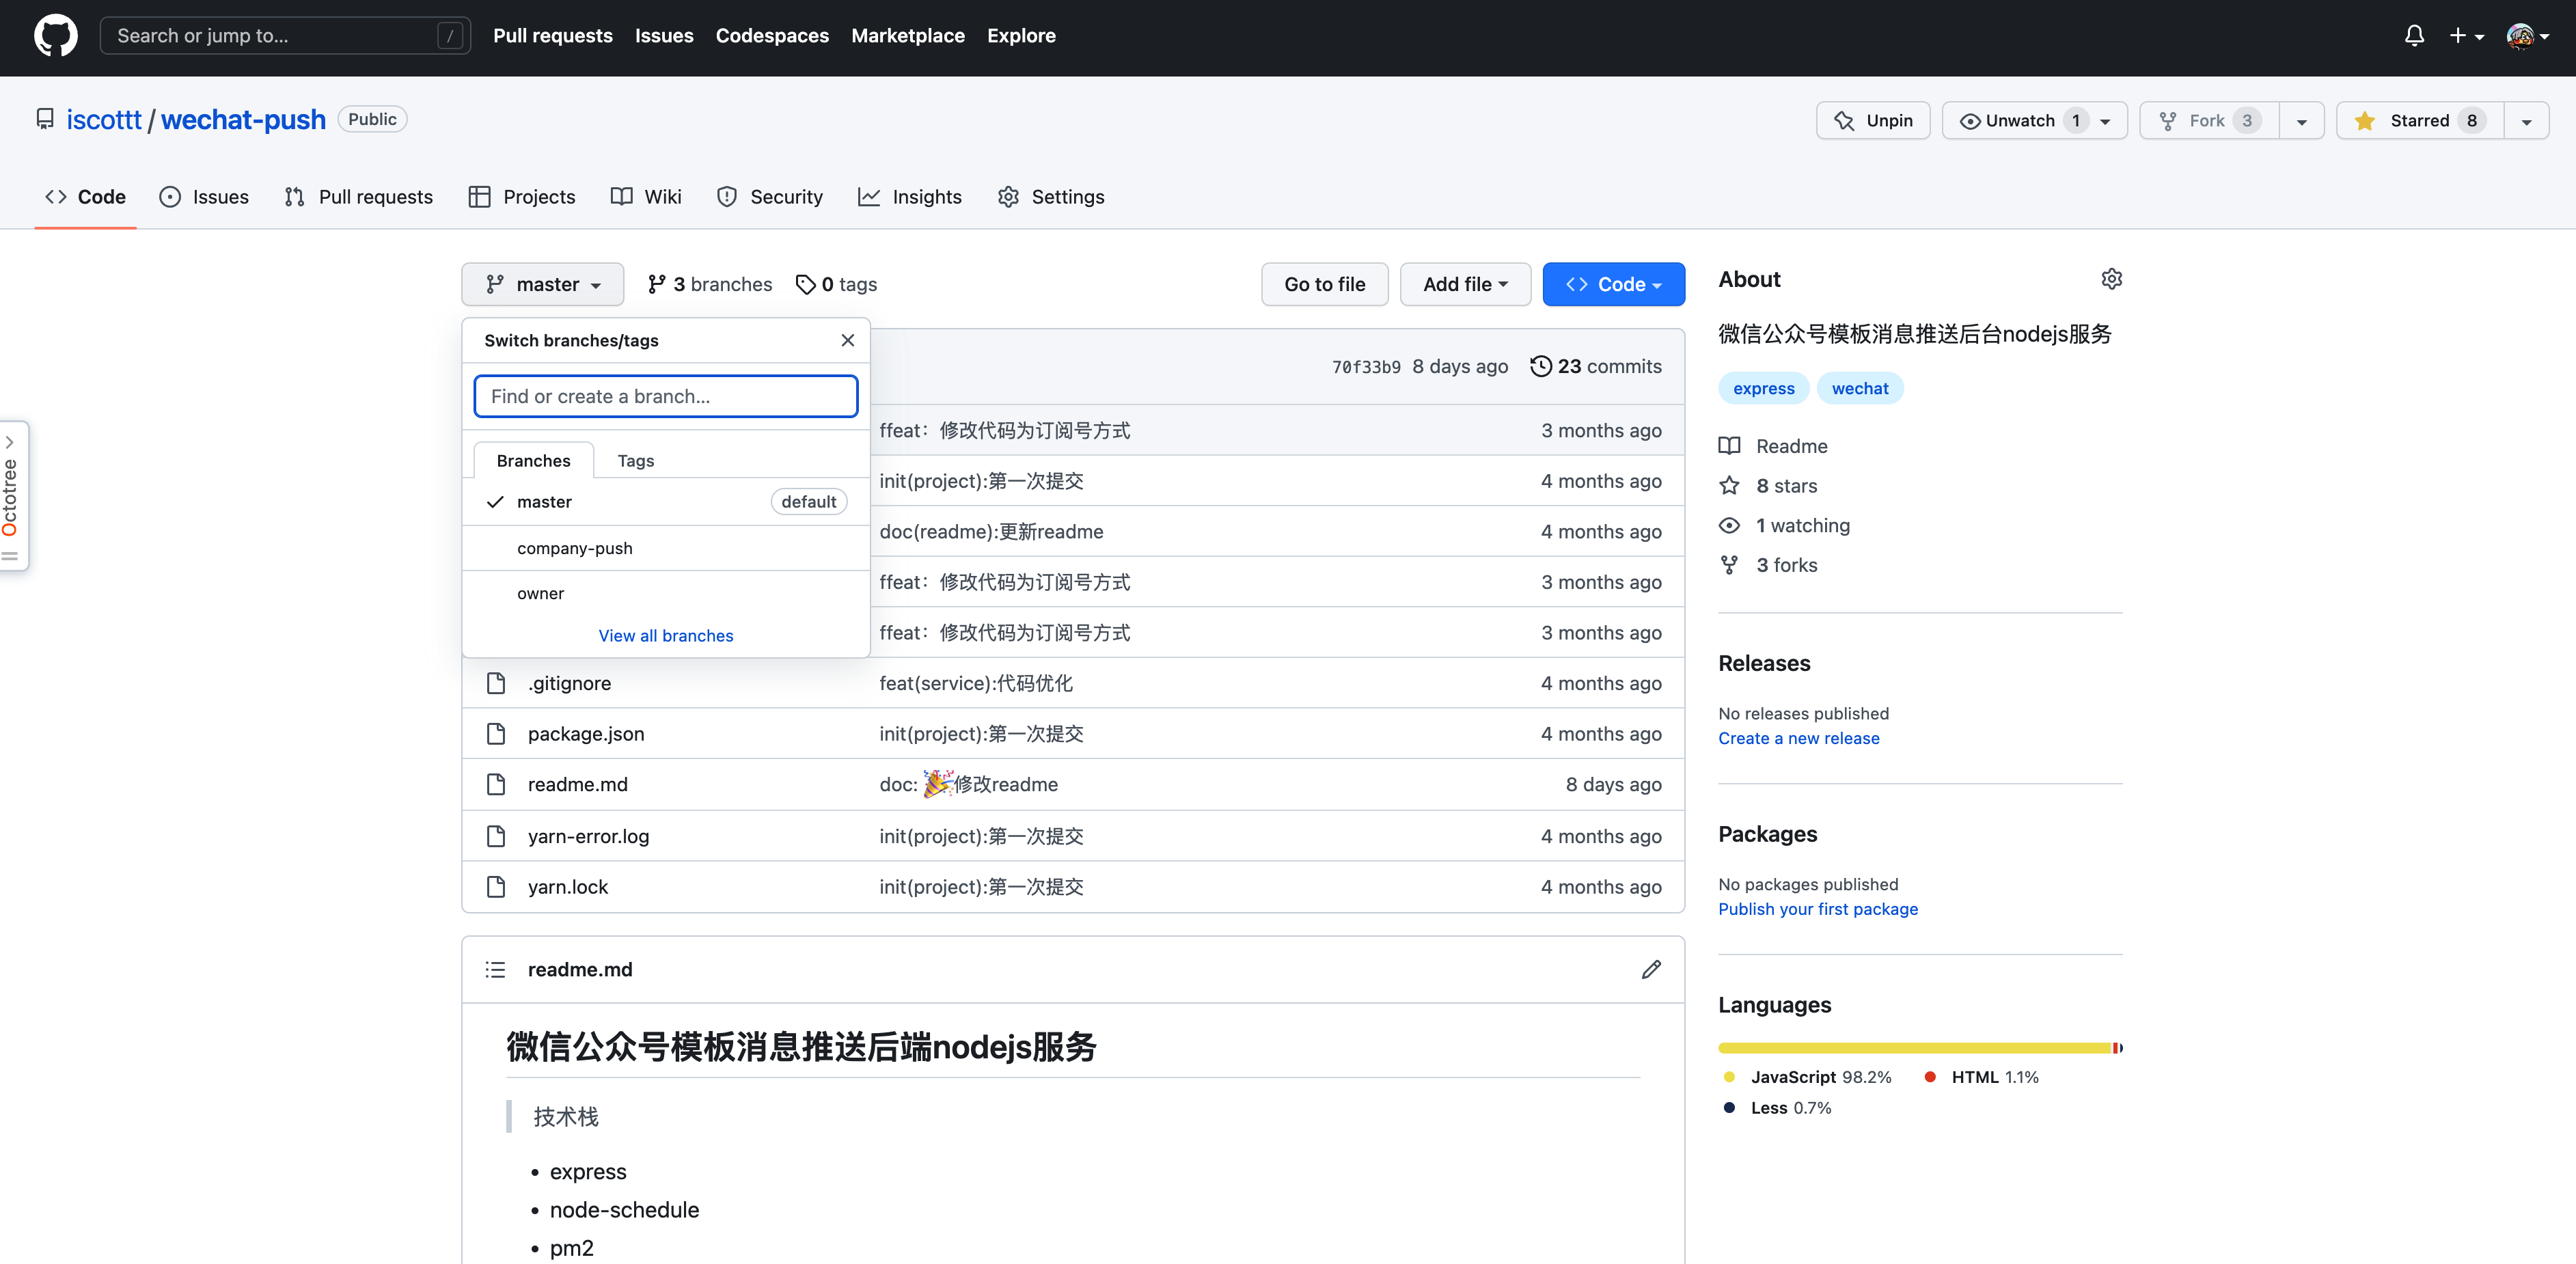
你可以在我的Github上clone源码(company-push或owner<作者自用>分支),或者点击下方按钮下载源码。
如果你觉得本篇文章对你有所帮助,可以帮我GitHub点个star或者请我喝杯奶茶~万分感谢🎉🎉🎉


